
Today’s project is this adorable lidded box! Keep reading to see how I created it using the Heartwarming Hugs Designer Series Paper.
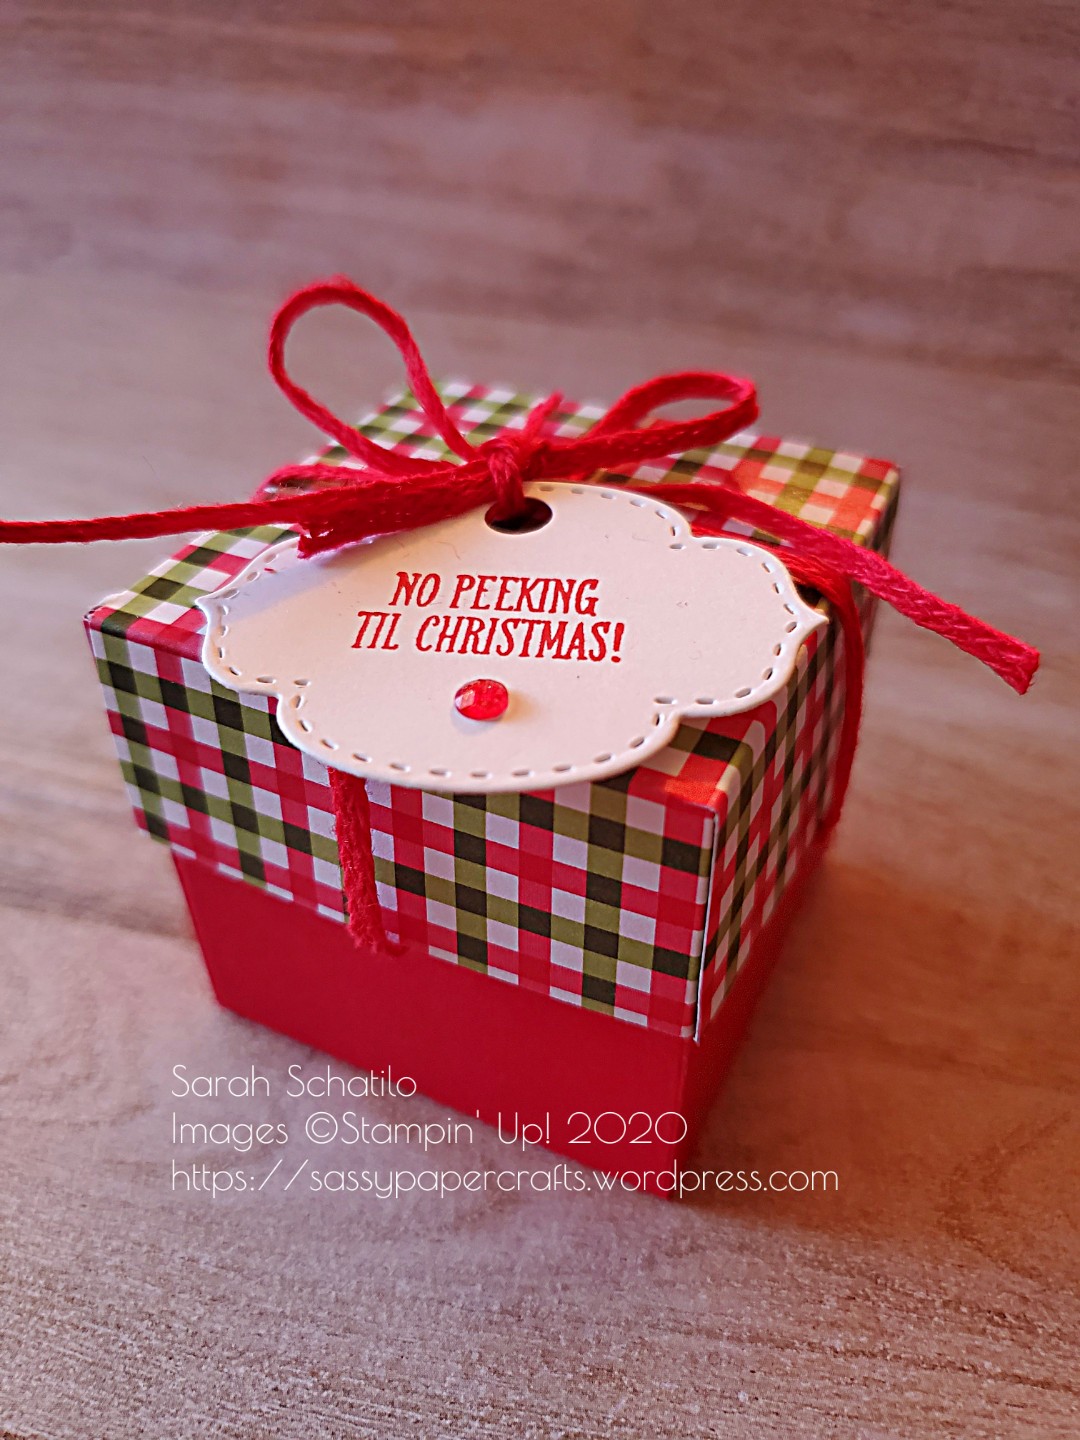
To start, I cut a piece of Real Red to 6″ by 6″. I then scored that at 2″ on all four sides.
I picked a pattern from the Heartwarming Hugs Designer Series Paper and cut it to 4″ by 4″. I then scored that at 1″ on all four sides.
I cut up the score line farthest to the right on all four sides. I then used Seal+ to glue the flaps to the inside of the box. I did the same for the lid.

I stamped my sentiment from the Itty Bitty Christmas Stamp Set in Real Red ink. I then “tied” some Real Red braided trim to the lid of the box. I used quotes there because I actually used glue dots to adhere 2 pieces of trim to the inside of the box. It’s faux tied if you will. 😉

I used the Stitched So Sweetly dies to cut out my sentiment. I then used a hole punch to make a hole and looped some trim through that. Finally I added a Real Red Wonderful Gem.
I hope you liked my project today! To purchase some of the products I used, click the pictures below.
To stay up to date with news and specials from me and Stampin Up, sign up for my newsletter!


